Windows Terminal Makeover: Elevate Your Command Line Experience in Minutes
How to Improve Your Windows Terminal Experience in Minutes
Prerequisite
Install Windows Terminal application
Install Winget Package Manager
Install any Shell environment like Fish or PowerShell (Optional)
Installing the Winget Package Manager 📦🛠
First, confirm if you have installed Winget Package Manager;
Open the terminal application and paste the following prompt
winget
If the Winget package manager is installed on the system then you will get similar output as the screenshot mentioned below 👇

If Winget Package Manager is not installed then copy the below code snippet and paste it into the next line.
Start-Process "ms-appinstaller:?source=https://aka.ms/getwinget"
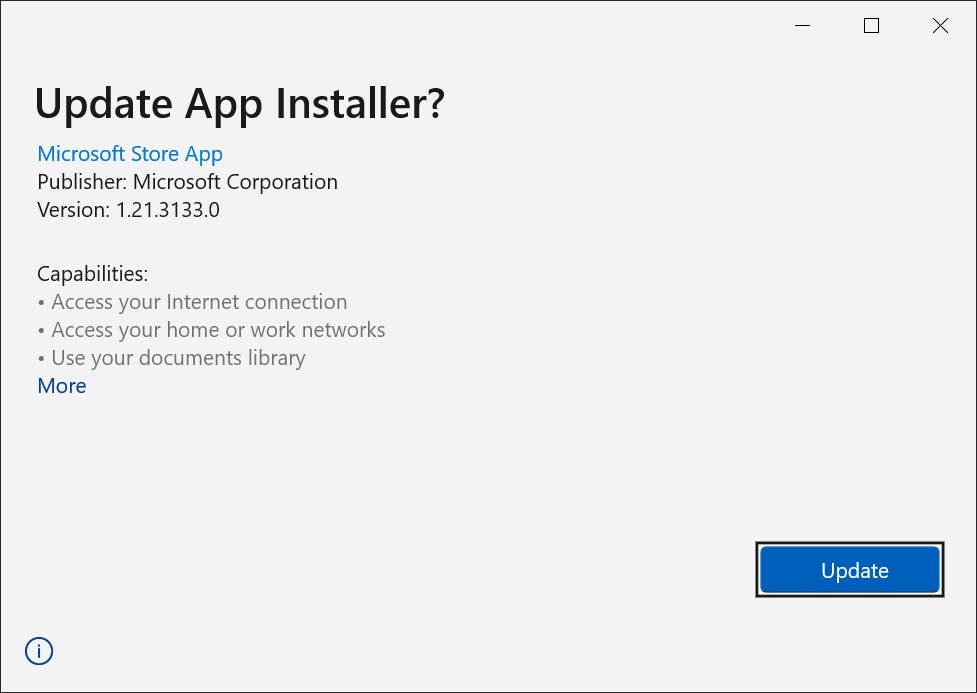
Since I have installed it already, a pop window for updates is showing

After installing Winget Package Manager you can verify it by repeating the above step.
Installing PowerShell⚡🐚
Click on this LINK, and it will redirect you to the Microsoft Store where you can get PowerShell, OR alternately you can follow the following steps to install PowerShell directly from the terminal
- Copy the command below and paste it into the terminal
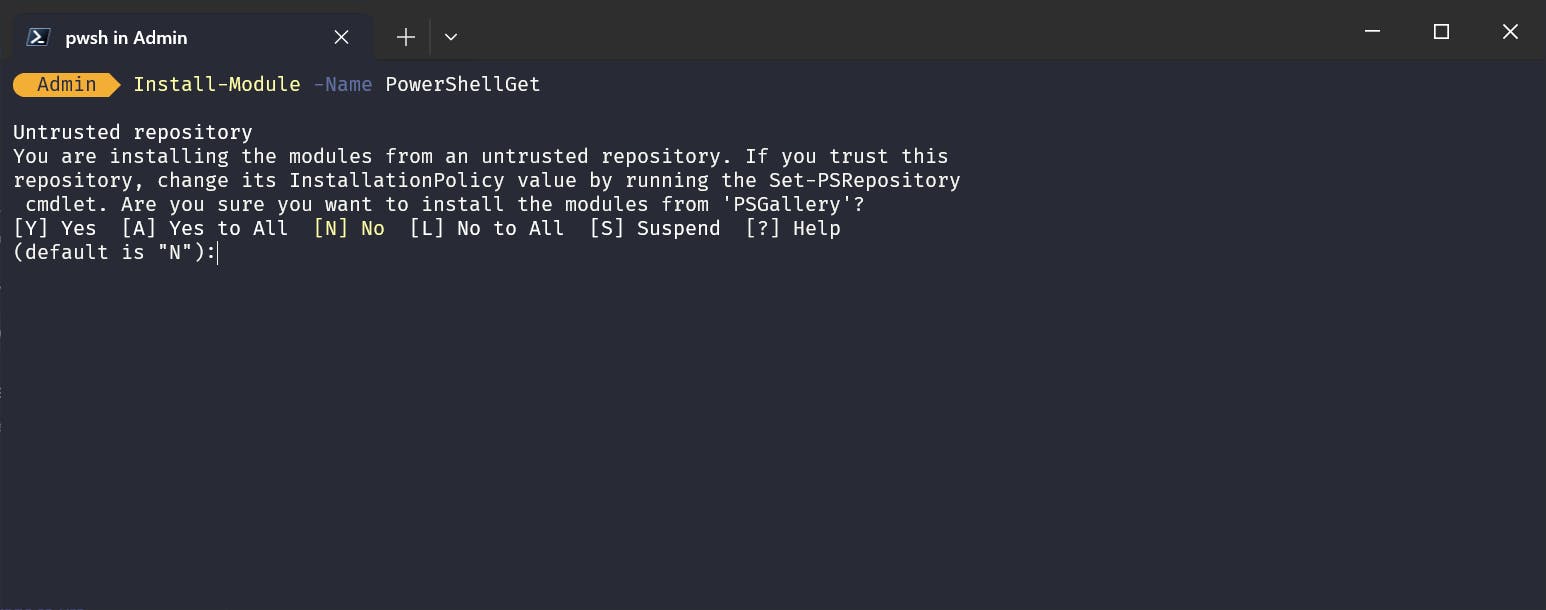
Install-Module -Name PowerShellGet
The below screenshot represents the Output you will get after using the above command, you have to enter "Y" to install the PowerShell.

Now you have installed Powershell you can Open it by clicking on the down arrow icon on the terminal and then selecting PowerShell

Setting PowerShell as the default
Open Settings
Open the dropdown menu in the Default Profile section
Select PowerShell
Click on Save


Now again click on the Plus icon but this time will open PowerShell as the default.
Getting Terminal Icons, Fonts & colourful lines themes 👨💻

Installing Nerd Fonts 🤓🔠
Click on this LINK, it will redirect you to the Nerd Font website
Choose any Nerd Font Family of your choice, and download it.
Extract the Zip file, Select any font by right-clicking on it, and clicking on Install for all users; this will install the font system-wide.

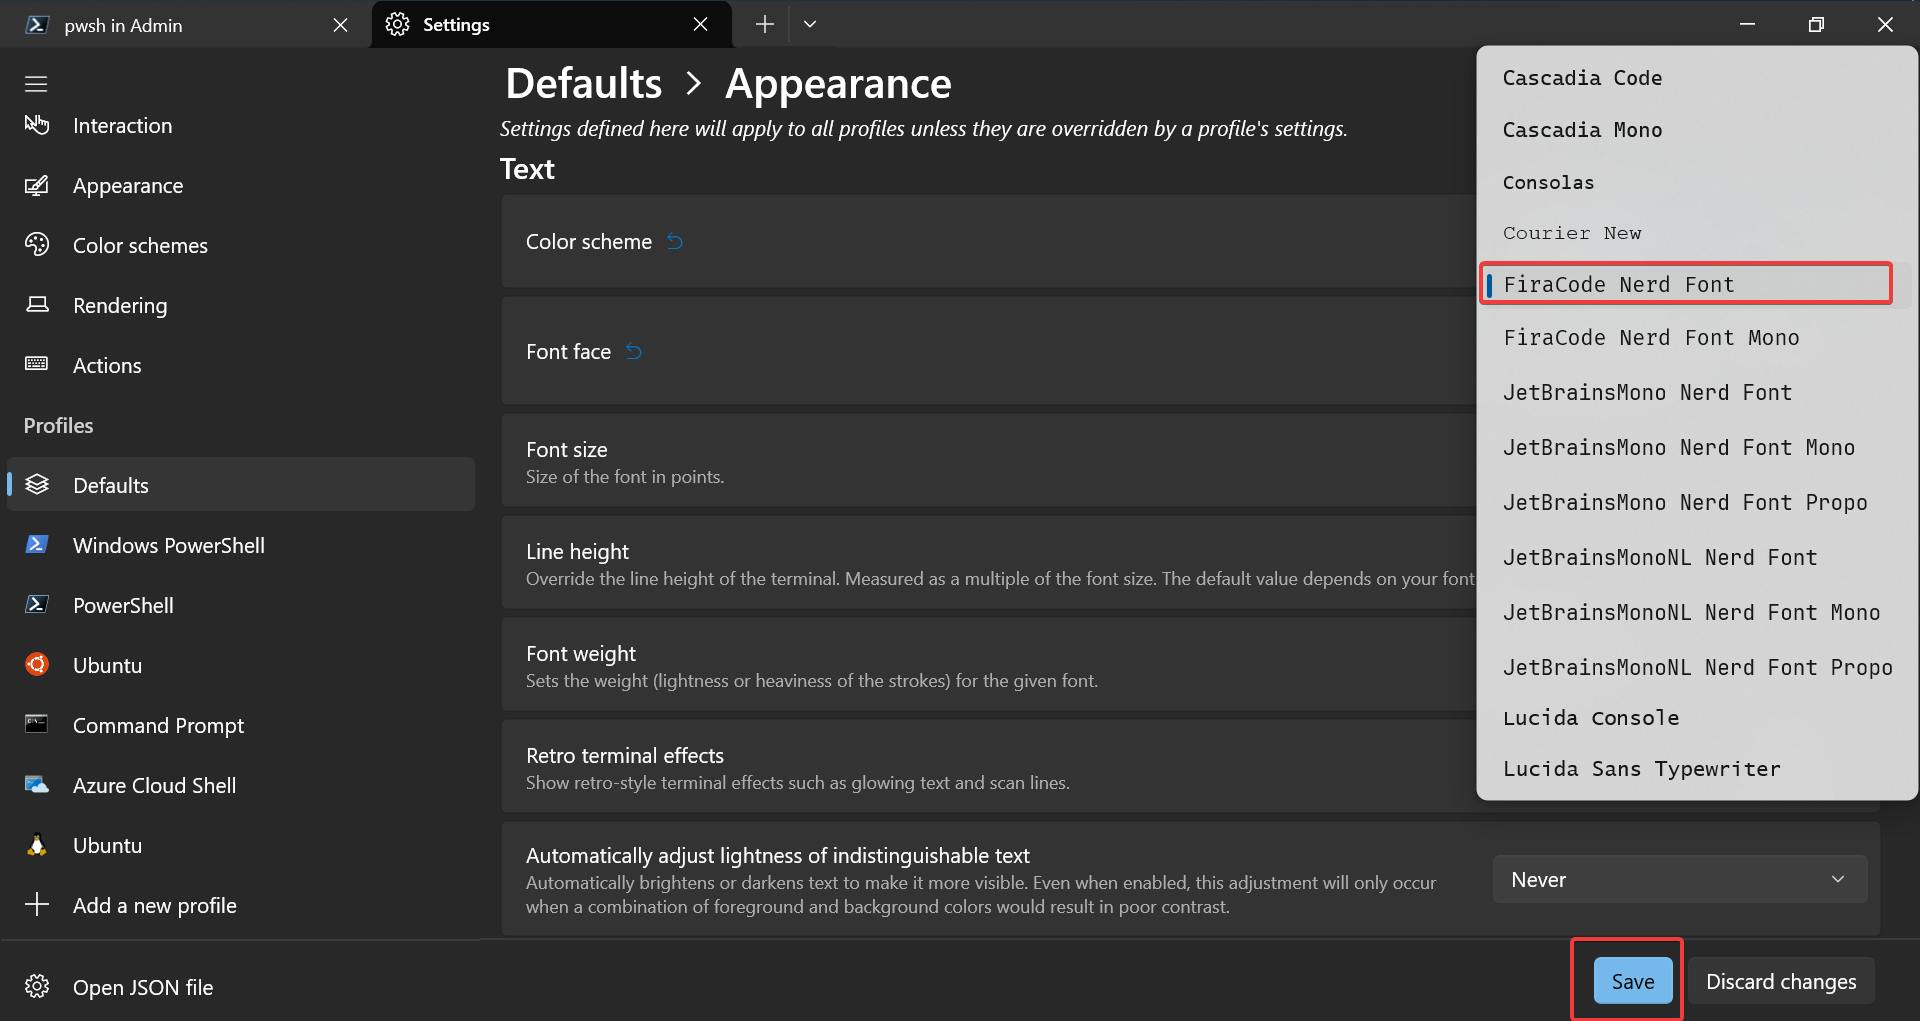
Now use the same font on your terminal,
Open terminal settings go to
Defaults>appearance
Click on the dropdown option on the
Font facetabSelect the font and click on save, it will change the font on your terminal.

Installing Colourful lines ✨😍

Setup Oh-my-Posh
Install Oh-my-posh on the terminal, follow the command below
winget install JanDeDobbeleer.OhMyPosh -s wingetThis set of instructions includes the installation of the following components:
oh-my-posh.exe: This is a Windows executable file.
themes: This encompasses the latest themes available for Oh-my-posh.
Run Oh-my-posh
oh-my-posh get shellOutput

Set Oh-my-posh as Default
Now Set Oh-my-posh as the default so whenever you open the terminal Oh-my-posh will automatically be loaded, follow the command below.
notepad $PROFILEIf the above command gives an error it means you don't have a profile for PowerShell 😐. Don't worry we can create one by simply following the below command, this will create a profile 🤗.
New-Item -Path $PROFILE -Type File -ForceAfter profile creation repeat the previous step to open Profile in Notepad.
Paste the below command and save the file
oh-my-posh init pwsh | Invoke-ExpressionNow use the below command to load the changes
. $PROFILEClose and reopen the terminal, Now oh-my-posh will run automatically.
Changing Oh-my-posh themes
If you want to change the Oh-my-posh theme, just paste this below command and hit enter to see the magic ✨🤩
Get-PoshThemes
Output

Now note down the name of the theme that you want to add, open PROFILE using the command notepad $profile and remove the command oh-my-posh init pwsh | Invoke-Expression and follow the instructions below 👇
Paste the command
oh-my-posh init pwsh --config "$env:POSH_THEMES_PATH/jandedobbeleer.omp.json" | Invoke-ExpressionChange the default theme name highlighted section, with the theme name of your choice
💡oh-my-posh init pwsh --config "$env:POSH_THEMES_PATH/jandedobbeleer.omp.json" | Invoke-Expression
Save the profile, use
. $profilecommand to reload the profile, it will immediately
Terminal Icons ✨⭐🤩
- Run the command below
Install-Module -Name Terminal-Icons -Repository PSGallery
- Paste the below command on the $Profile file
Import-Module -Name Terminal-Icons
Damn! My terminal looks really preety.

You also change the background wallpaper or the dropdown menu for the terminal's order list to get your favourite shell on top or hide those you don't need but for now, I will leave this blog as an open-ended discussion for my reader to get their hands dirty and try.
Thanks to the team Terminal, Creator of Terminal Icons Brandon Olin, Creator of Oh-my-posh Jan De Dobbeleer. Scott Hanselman the person who inspired me to write this blog.
Instagram : karan__ronin LinkedIn : Karan Rao
X : Comming Soon Email : karan.rao@zohomail.in
